Join our Mailing list!
Get all latest news, exclusive deals and academy updates.
This site uses cookies for analytics and to improve your experience. By clicking Accept, you consent to our use of cookies. Learn more in our privacy policy.
Share:
“Adho” means downward
“Mukha” means face
“Vrksa” means tree
“Asana” means pose
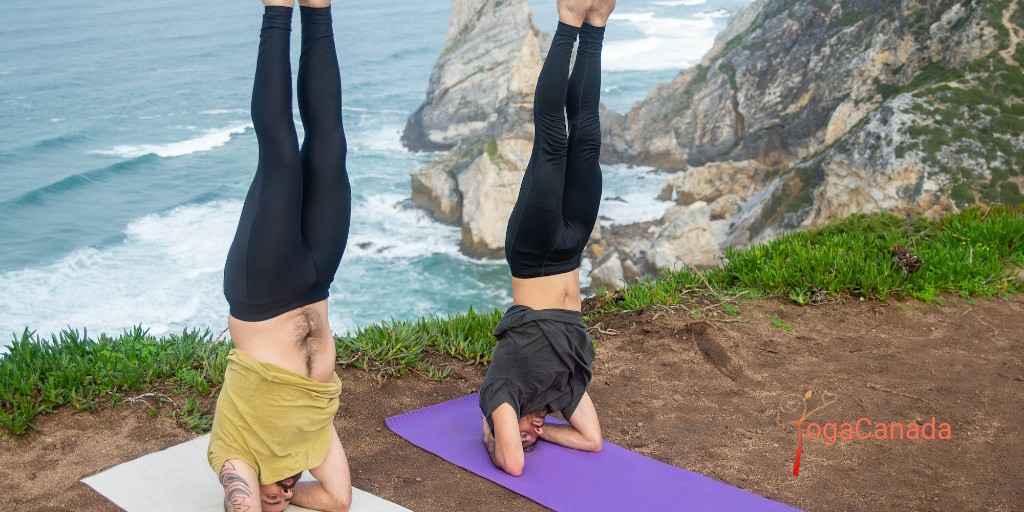
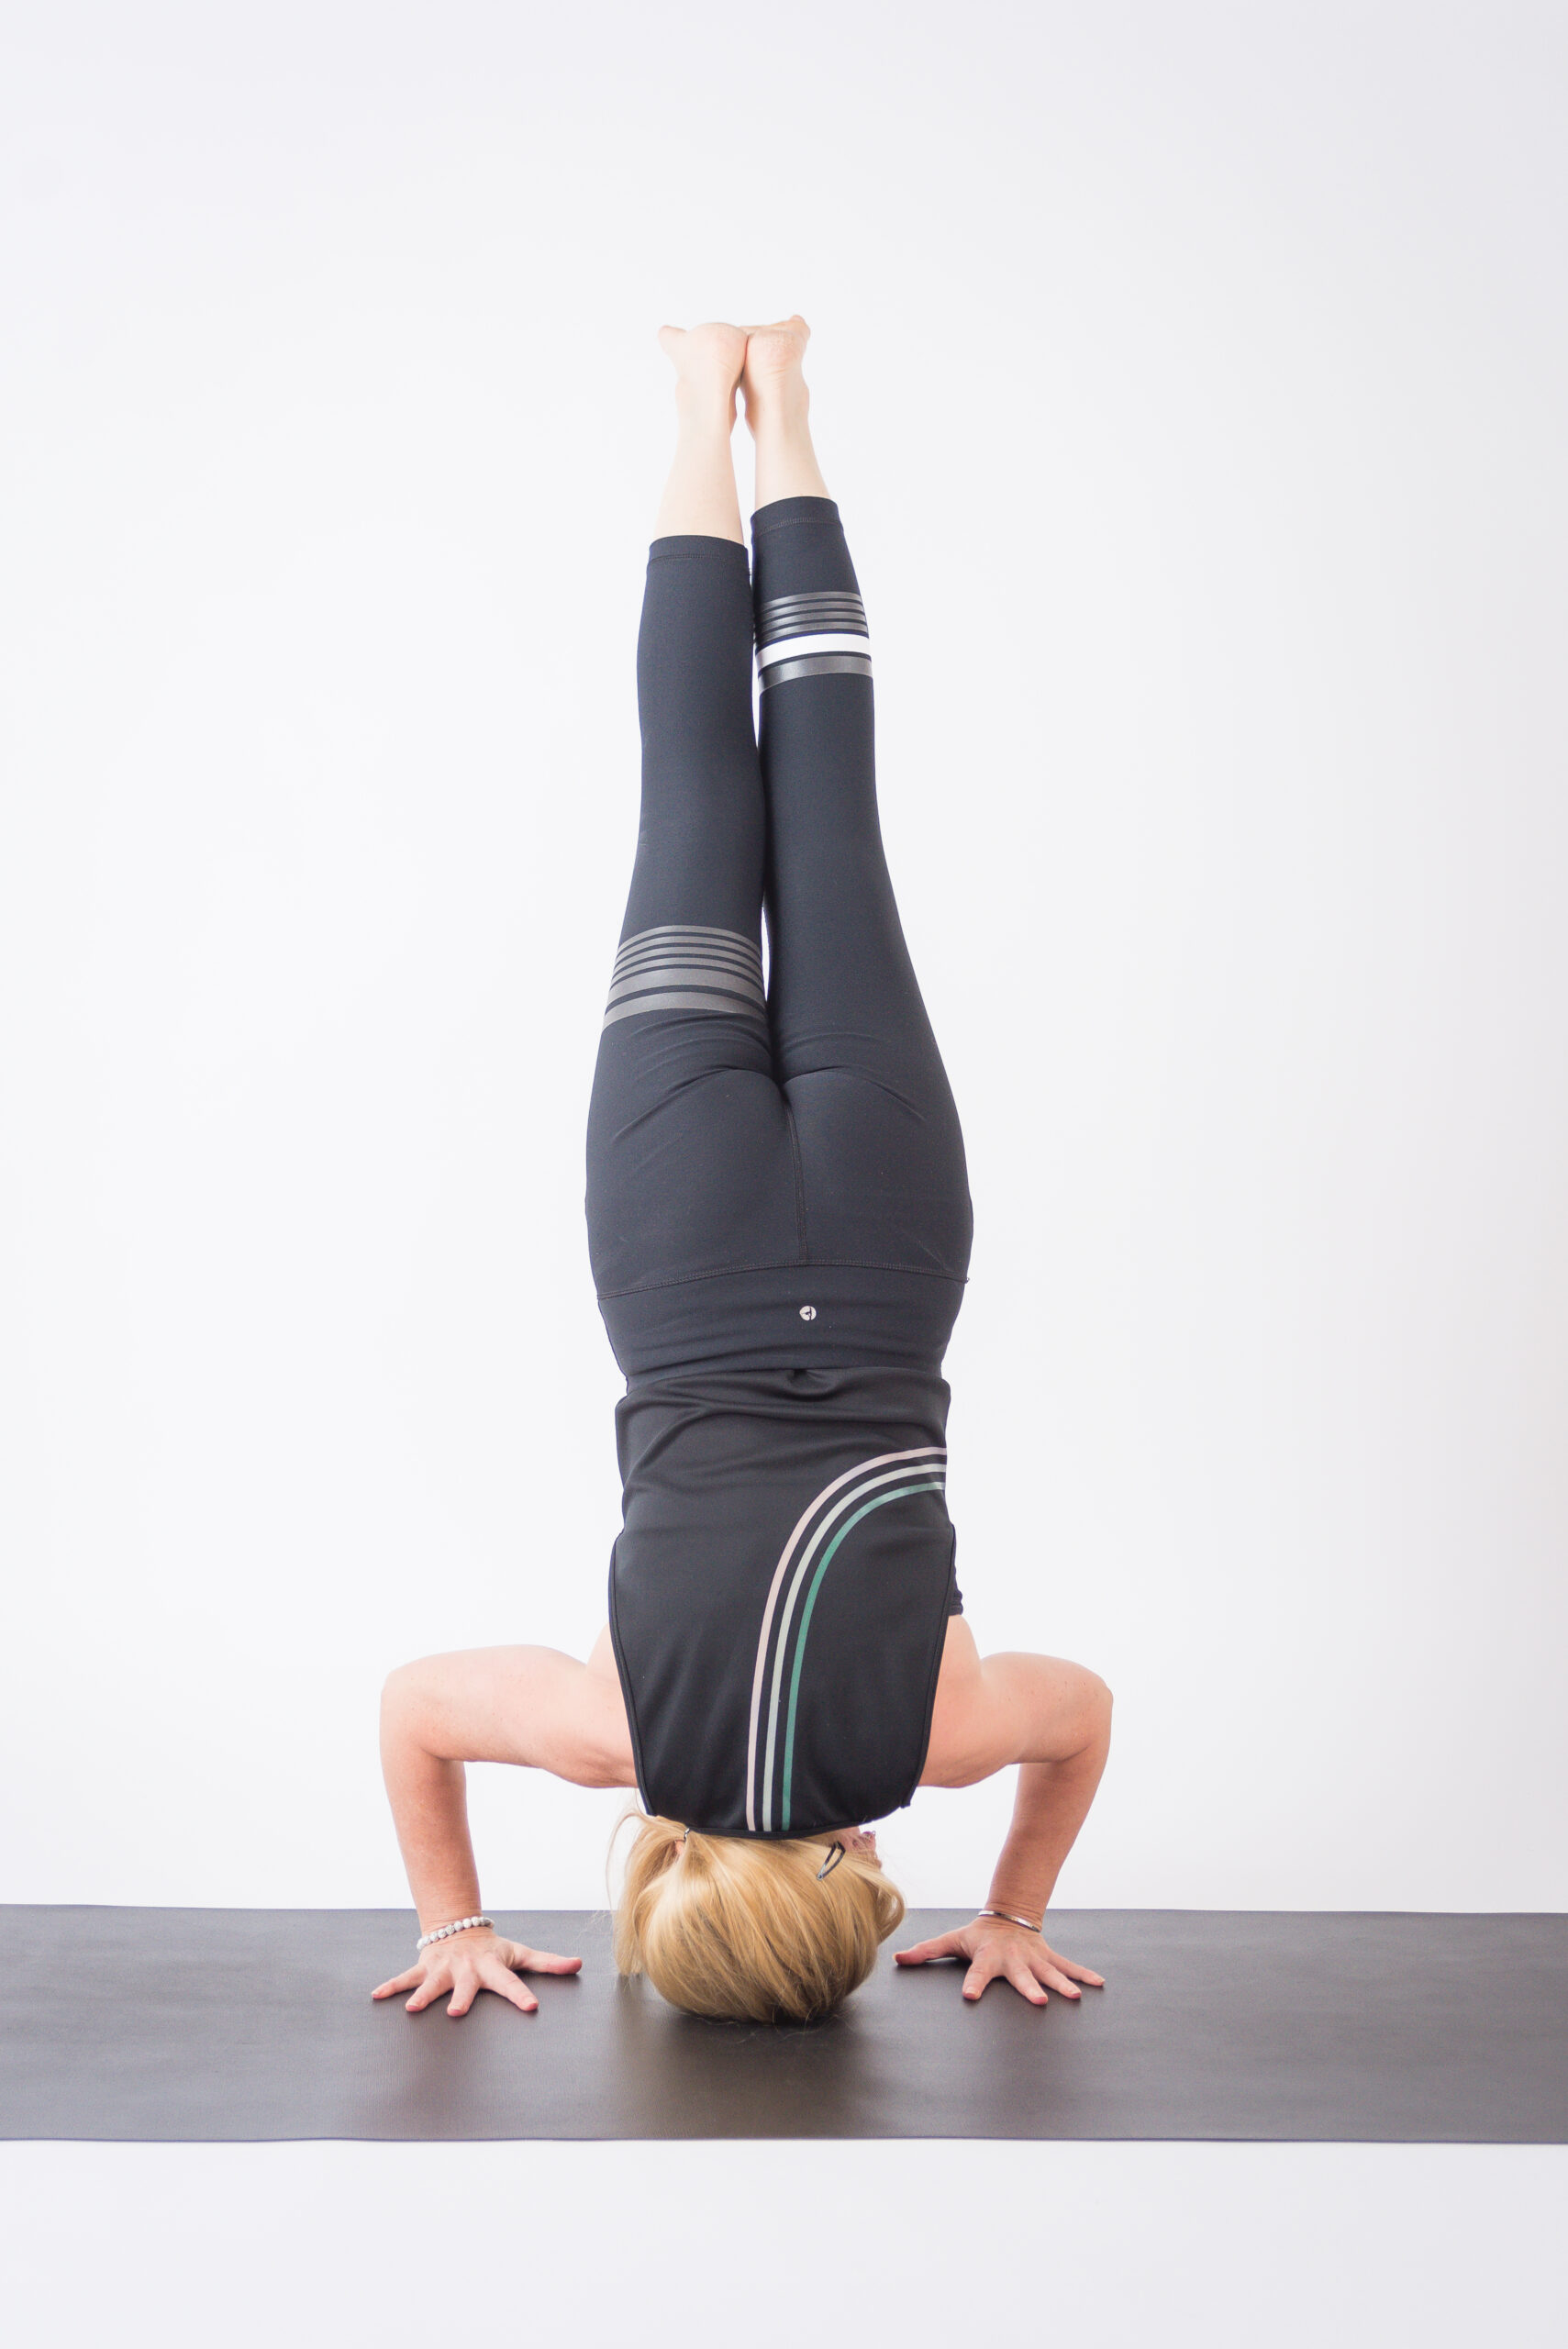
This head balance is called the king of the postures. It develops poise and lightness and stimulates the brain. Do not attempt this pose until the Plow and Shoulderstand poses can be held for 5-10 breaths.
Benefits
The very fact the body is inverted gives room for better blood circulation to the brain and eyes.
Helps to realign the vertebral column, thus correcting any minor postural defects.
Puts pressure on the pituitary glands which helps to increase its efficiency, and in turn the efficiency of all other hormone-producing endocrine glands which are controlled by it.
The weight of the abdominal organs on the diaphragm encourages deeper exhalation so that more carbon dioxide and other toxins are removed from the lungs.
This asana stimulates the nervous system and strengthens the spine, shoulders, and neck.
Crown Chakra
(Sahasrara Chakra)
Influences self-knowledge identity, spirituality, and connection with the divine.
“We are one.”
Third Eye Chakra
(Ajna Chakra)
Self-Reflection Identity, Intuition, and Clarity of Sight.
“I See Clarity.”
Throat Chakra
(Vishuddha Chakra)
Self-Expressive Identity, Communication, And Integrity.
“My Voice Matters.”
Steps
1. On your mat kneeling at the center, rest the forearm on the center ensuring the distance between the elbows on the floor is not wider than the shoulder.
2, Interlock the fingers right up to the fingertips so that the palms form a cup.
3. Place the crown of the head only on the mat, so that the back of the head touches the palms which are cupped.
4. After securing the head position take a few breaths here preparing the body, now raise the knees from the floor by pulling the toes towards the head and feel the weight on the neck and shoulders.
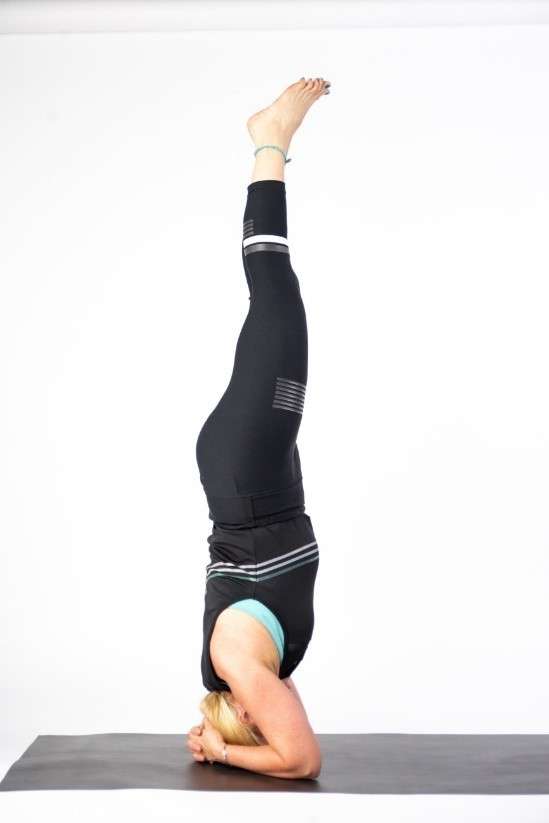
5. Bend your knees and use the strength of your abdominal core to gently lift or hop your feet off the floor.
6. Hug your legs together; lift your knees directly over your shoulders then extend your legs straight up over your torso. Hug your thighs to the midline and straighten your legs as you flex your feet, and spread your toes. Take care to maintain equilibrium making sure the spine, hips, and thighs are in line.
Cautions
If you’re considering incorporating a headstand into your yoga practice, it’s crucial to be aware of the cautions and take necessary precautions:
Neck Issues: Individuals with neck injuries, cervical spine issues, or a history of neck pain should avoid headstands or practice them under the guidance of an experienced yoga instructor. Ensure that your neck is in a neutral position, and avoid excessive pressure on the cervical spine.
High Blood Pressure: Headstand is an inversion, and people with high blood pressure or cardiovascular issues should avoid this pose or practice it with caution. If you have hypertension, consult with your healthcare provider before attempting headstand.
Eye Conditions: Avoid a headstand if you have glaucoma or a detached retina. The increased pressure in the head during the pose may be detrimental for these conditions.
Menstruation: Some yoga traditions advise against inversions, including headstand, during menstruation. However, opinions on this can vary, so it’s recommended to consult with your yoga instructor or healthcare provider for guidance based on your individual circumstances.
Shoulder or Wrist Issues: People with shoulder or wrist injuries should approach headstands with caution. Ensure that your weight is distributed evenly on your forearms and avoid excessive pressure on the wrists.
Pregnancy: Pregnant individuals should avoid inversions, including headstand, especially in the later stages of pregnancy. Always consult with a healthcare provider or a prenatal yoga instructor for guidance.
Unstable or Weak Neck Muscles: If you have weak neck muscles or instability in the neck area, it’s advisable to avoid headstands until you have built sufficient strength and stability through regular yoga practice.
Inadequate Core Strength: The headstand requires a strong core to maintain stability. If your core muscles are not adequately developed, it increases the risk of losing balance and falling. Work on strengthening your core through appropriate exercises before attempting headstand.
Inexperience: Headstand is an advanced pose that requires proper technique and alignment. If you are a beginner, it’s essential to learn the pose under the guidance of an experienced yoga instructor to ensure correct form and reduce the risk of injury.
Environmental Safety: Practice a headstand on a non-slip surface and away from any furniture or objects that could pose a risk if you lose balance. Make sure the area around you is clear to prevent injuries.

Variation: Tripod Headstand
Steps
1. To set up for a tripod from All Fours, build a triangle with your hands at the base and your head at the apex, keeping your knees on the ground. Your arms should be bent at a 90-degree angle, with your elbows directly over your wrists and in line with your shoulders. Keep your neck long and resist the urge to collapse your shoulders toward your ears.
2. Tuck your toes and lift your knees off the ground. Slowly walk your feet toward your hands until you can rest your knees on your triceps. Lift your feet off the ground and touch your big toes together.
3. Pull your heels toward your butt and squeeze your knees together to activate your core. You should start to feel your knees float up off of your triceps (it’s okay if they hover just an inch or so above your arms).
4. Unround your tailbone, keeping your legs active (just like in Plank and Warrior III) as you reach your feet toward the sky. Hold for a couple of breaths or up to a minute.
5. To release, bend at the hips and knees, bringing your knees back to your triceps and releasing your feet to the floor. Finish by holding the child’s pose for a few breaths to prevent a head rush before returning to an upright position.
Need Help? Contact Us
Browsing history
Master Trainer
Nancy M.Sc, ERYT-500
I love connecting with great yogis. Being inspired by the teachings of renowned yogis, my passion for sharing the teachings of ancient science within modern practice is absolutely stunning.
Other Posts